The Best Peach Pie/Crumble/Cobbler You Have Ever Had (P.S. It also happens to be gluten-free and vegan)

image_4Hands down this is the best Peach…thing…I have ever had, and possibly one of the best desserts I have ever made. I need to decide on a name for this. Peach Crumble? Peach Cobbler? Peach Crumble Pie? Peach Pie? Hm. I’m going to go with (drum roll please) Peach Crumble Pie. Done!

We had quite the harvest of peaches recently and no one was more surprised than me. We have had a number of problems with our peach trees to date: a gross leaf curl/fungus thing that I truly thought was going to kill them; little hard peaches that never seem to ripen; animals/birds eating them; and some kind of gross bug which makes them look like they have weeping sores (that last one is the grossest so far). I have considered ripping the trees out, which to people who know me is shocking, and I have gone on several rants about how stupid it was for the previous owners to even plant peach trees because Portland just is not the right climate. So I may have a little (tasty) egg on my face. Of course, it also may be the perfect storm of unusual circumstances that led to this year’s peach harvest. Things like a weirdly early and overly hot season and the trees also being in the sweet spot of their three year cycle for producing fruit. I may never see this again (and one of the three trees still has that weeping sore problem). So I felt like I needed to make the most of this harvest.

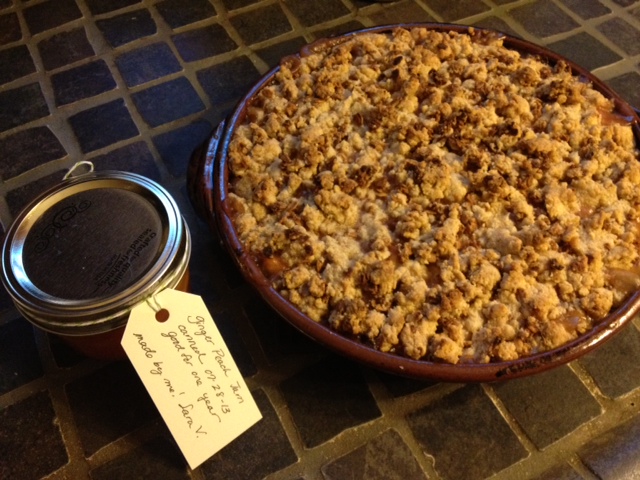
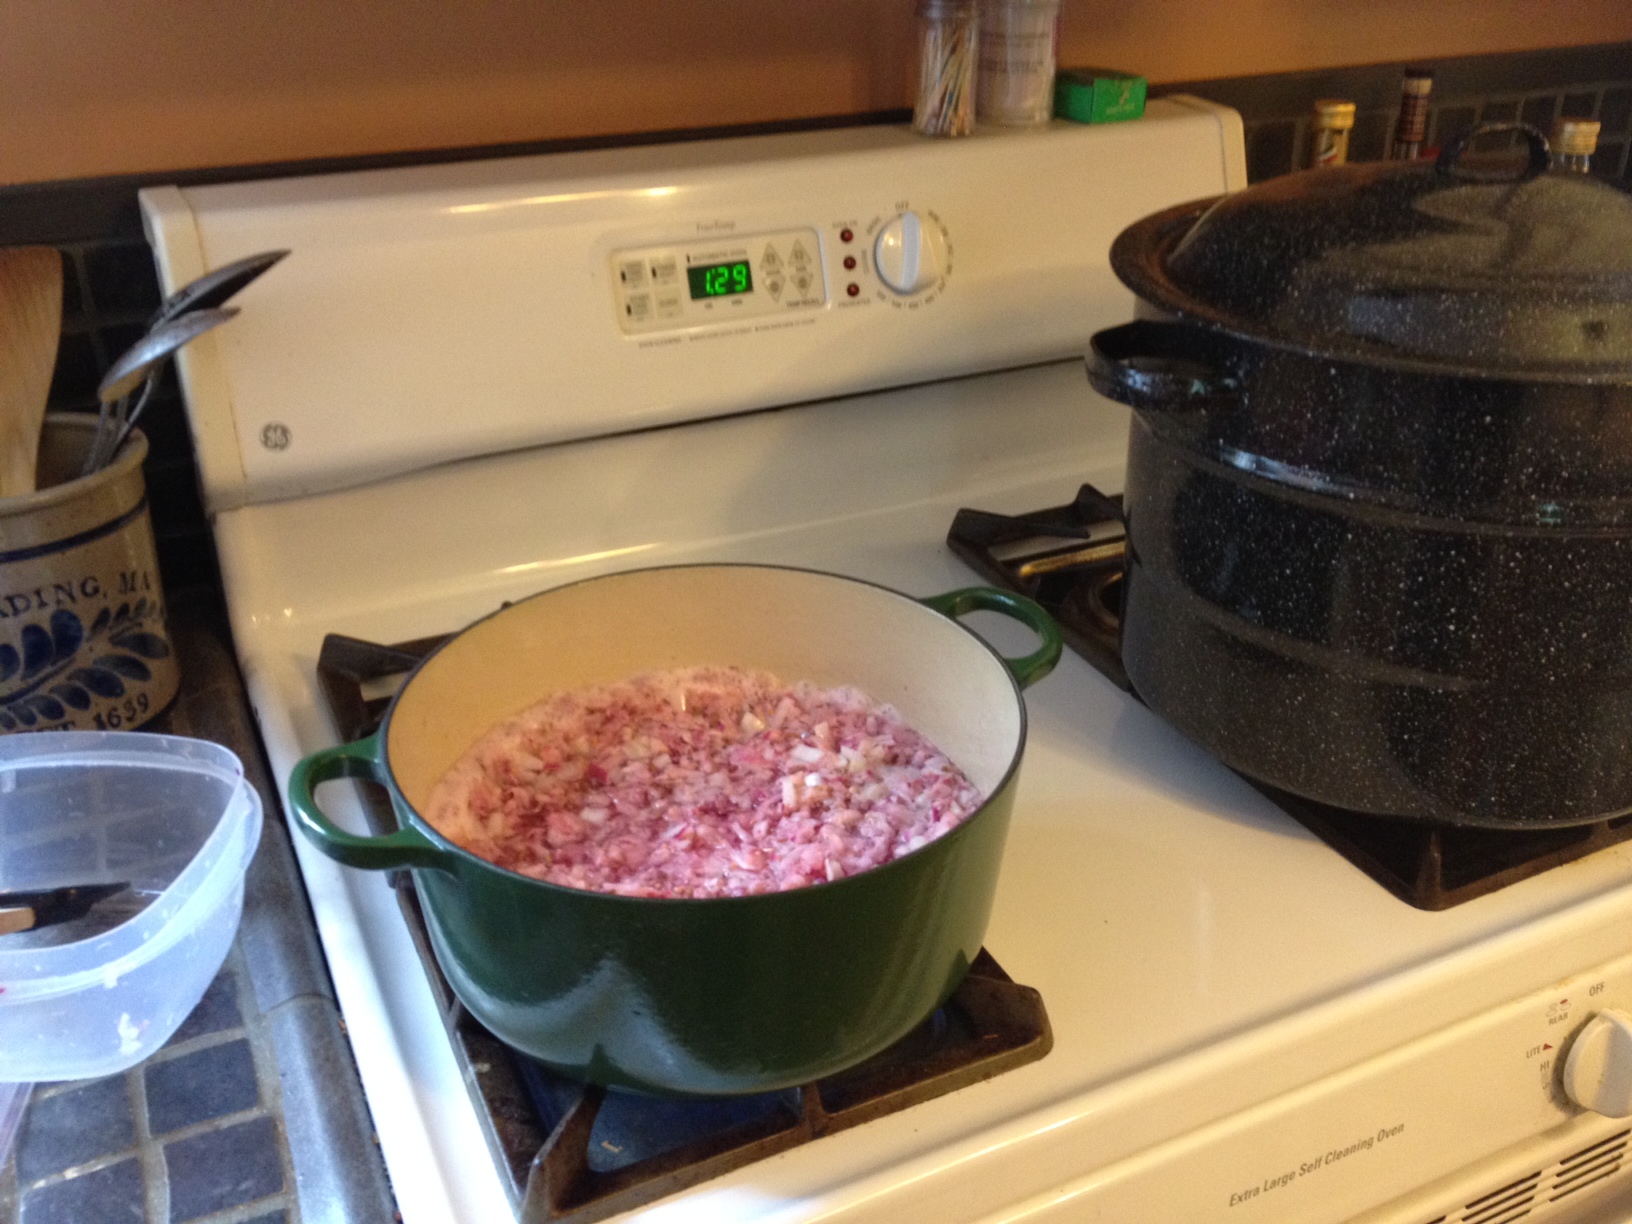
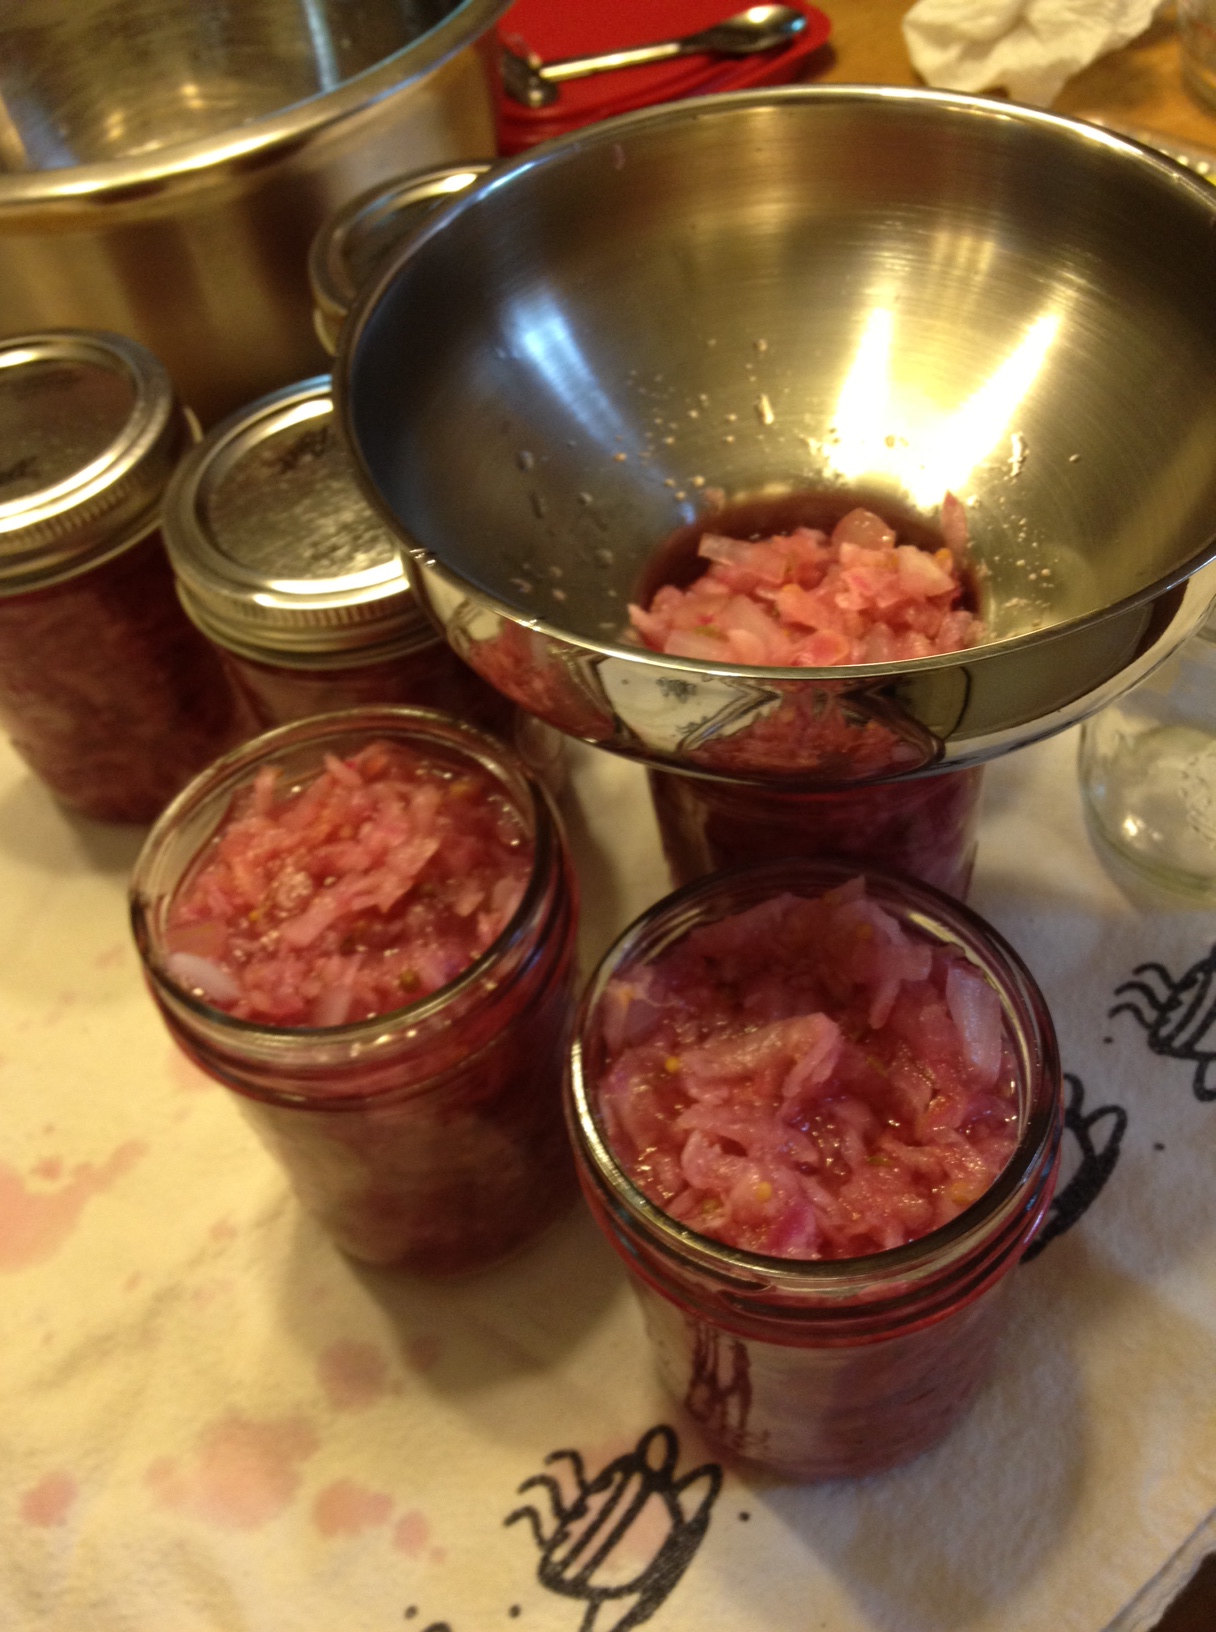
Since peaches really don’t store well at all, and since I didn’t feel like cleaning my house Sunday morning was a very cool one, I decided I would finally try the recipe for making Ginger Peach Jam from my trusty and good old reliable canning book: Put Em Up! The recipe was ridiculously simple (Peaches, Bottled Lemon Juice, Sugar, Fresh Ginger, Pamona’s Universal Pectin & Calcium Water). And since I am starting to really get the hang of this canning thing it seemed almost too easy. The most time consuming part of it all was peeling the peaches. I ended up with 10 half-pint jars of jam. It is soooooo good. Mike was savoring it this morning on his [gf] toast.

Here is a picture of one of the jars. I love this stubby little jar. Kinda cute.

image_5

But on to the Peach Crumble Pie! After dinner Mike still felt hungry and we deemed that “room for dessert.” Since we had a few peaches left over (some on hand and then a few more we picked from the trees) we decided to make some type of cobbler, pie, or crisp (so many words for such similar things!). I knew we would not be making a traditional pie crust because the truth is that I simply don’t think that a really good gluten-free vegan pie crust exists. I’ve tried so many mixes, so many recipes, and have experimented so many times on my own, but in the end the most I can say is that at times they have been passable (and most of the time horrendous). That just isn’t good enough for me. I’ll eventually get back to that quest, but in the meantime we had these peaches… We looked at a bunch of recipes online and a bunch of recipes in our cookbooks. In the end we came up with something that is very (VERY) loosely based on everything we read. I’ve gotten pretty good at the art of substitutions and understanding the texture, heaviness, and oiliness of various flours and sugars. I also don’t like things that are super icky sweet so we significantly reduced the amount of sugar that all the recipes called for. We did take note of the overall mass of things and that was very helpful. I also chose to go super simple on the spices (just using nutmeg) so that we didn’t mask the flavor of the peaches themselves. The miracle is that this is the first time we made this, it is a totally new recipe made up by us (Mike helped!), and we wouldn’t change a thing. It is really, really rare for me to taste a first attempt and not think to myself, “I would add less vegan butter next time, or less sugar, or less…[whatever].” It was perfect right out of the gate. We quickly wrote everything down, while it was still fresh in our minds, so that we could make it exactly the same again, and again, and again. I also think that this recipe would work with apples, strawberries, blueberries, cherries, etc. It was so damned good! I am getting a little bit wordy here (and maybe a little obnoxious) so I’ll stop now and get to the recipe.

Peach Crumble Pie / Vegan and Gluten Free

Preheat your oven to 350 degrees Fahrenheit. Use vegan butter – we always use Organic Earth Balance – and generously butter a pie plate.

For the “filling:”

  • Approx 2 lbs peaches, peeled and sliced
  • 1 Tbsp lemon juice
  • 1/4 cup sugar
  • 1/8 tsp nutmeg
  • A pinch of salt
  • 1 1/2 Tbsp cornstarch

Nothing fancy you need to do here. Mix all the ingredients in a bowl and set aside until you are ready to assemble your pie.

For the crumble / top “crust:”

  • 1/4 cup sorghum flour
  • 1/4 cup tapioca flour
  • 3/4 cup almond flour
  • 1/2 cup brown sugar
  • 6 Tbsp vegan butter (again, we used Organic Earth Balance), cut into smaller chunks
  • 1/2 cup gluten-free vegan cinnamon raisin granola (we used Bakery on Main’s product. and I really encourage you to try this because we really think this made a huge difference in how delicious this turned out. If you can’t handle raisins at least find another one that has the cinnamon flavor to it.)
Put everything except the granola in the food processor. Pulse the mixture in a food processor so that little butter chunks are roughly evenly distributed. Be careful not to over process this which will break the vegan butter down and make things oily (and weird…I have no better term than this..things just get weird if you over mix/whip the vegan butter). Add the gluten-free vegan cinnamon raisin granola and pulse a few more times to break it up a little and distribute it through the mixture.
Give the filling a final stir or two and then pour it into the buttered pie plate. Take the crumble topping and sprinkle it as evenly as possible over the entire top of the pie (no big chunks). Place the pie plate on a cookie sheet – we used our pizza pan – to catch any drips in case the filling bubbles over (ours did). Bake in the preheated over for 45-55 minutes. As with all fruit pies let this one cool a bit before you serve/eat some to avoid burning your mouth.
I will make this for us again and try it with different fruits or berries. I know I will also bring this to dinners and pot-lucks too. If you don’t tell them people really will not know they are eating something vegan and gluten-free, and that is the best kind of vegan gluten-free anything.
Here are some extra pics from the Peach-A-Palooza.
Four pounds of peaches is what you need for the jam.
image
The pie filling before the crumble top-crust is added.
image_2
A horribly blurry picture of the pie before it goes into the oven.
image_3
Two of my babies. I’m a proud peach mama.
photo(2)

Canned/Pickled Beets!

20130624-193940.jpg

I finally took the time to can/pickle my beet harvest. I was so ridiculously excited to watch all nine half-pint jars pop after they were taken out of the water bath. And I was tickled that none of my harvest went to waste. The recipe I used intrigued me because instead of sugar, honey was called for. The pickling brine contains: apple cider vinegar 5% acidity, honey, cinnamon sticks, whole allspice, whole black peppercorns, some water, and a little bit of salt. It took about three hours from start to finish and was a total blast. I can’t wait to make jam from those three pounds of fresh strawberries I harvested and froze a short while back.

Peeling and slicing the boiled beets.

20130624-194612.jpg

The beets added to the hot pickling brine.

20130624-194701.jpg

My clean workspace which was soon stained with bright beet juice.

20130624-194755.jpg

All nine popped! Such a pretty color 🙂

20130624-194828.jpg

Unplanned Food Preservation Day

001Oh, y’all. Oh, my. Food preservation can become a full time job. I am almost dreading tomato season…

We asked for some help last weekend with heavy weeding and some clean-up/fixing of the last ugly spot in our yard which is the side yard by the composter that leads out to the area we store our trash can, recycle bin, and city compost bin. It is a horrible spot we haven’t devoted a lot of time to, and it is also a very muddy area of the house because the neighbor’s gutters are basically draining over to our side of things in that spot. We had a path there that was never great to begin with because of tree-root issues and a lot of mud slung itself over everything. Add in that it is a favorite spot for the dogs to dig holes, and that the previous owners had bolted a set of open shelves to the side of the house and it finally rotted and basically broke and fell apart, but somehow still clung tenaciously and somewhat drunkenly to the siding, and you had one hideous disaster of a side yard. Well! Heidi and Laurel (all of our yard helpers are women – girl power!) made short work of it. There is a pile of debris which will be hauled off soon, the path has been pulled up in spots and some pea-gravel has been raked smooth (update! dogs already dug two holes but it still looks better than it ever has), the ground has been leveled off significantly, and the weeds have been ruthlessly yanked out. The other thing they did was trim our Concord grape vines so you don’t get smacked in the face as you walk by. I asked them not to put the vines in the compost bin because I wanted to harvest the leaves so I could make dolmas (stuffed grape leaves) with them later. I clipped a bunch of leaves and brought them into the house…but then realized I would have to deal with them sooner rather than later because leaves really don’t store well for any length of time. They just dry out and become brittle, brown, and unusable. So I ended up spending a lot of time cleaning, blanching, and trimming them so that I could get them in the freezer. It ended up kicking off a food preservation afternoon and I’m not going to lie. I was pretty exhausted afterwards.

After dealing with the 110 grape leaves* I decided to harvest my escarole because it was starting to reach a point where it was going to spoil out there. So I harvested, cleaned, chopped, blanched, and froze that. Then I spent time harvesting strawberries, by far the least labor intensive thing of the day. I washed and hulled them, then froze them on a tray. Once they were frozen solid I slipped them into a plastic bag. Since I plan to use the berries in some kind of canning project (jam or preserves) I was careful to measure exactly how many pounds I had before freezing them. I was very excited to have two pounds on my hands! One more pound and I’ll be in jam/preserve making business. Next up (soon) will be to harvest beets and purple snow peas. I’ve already decided to preserve the beets, however we will be eating the greens right away. Turns out greens preservation is not my favorite thing. The snow peas… I’m not sure. We might eat them quickly, but I might freeze them for a stir fry later. Depends on what life throws our way…

Blanching grape leaves.

image

Trimming grape leaves.

trim

110 Grape leaves blanched, blotted dry, stems trimmed, and stacked in neat piles by size.

image_3

Harvested escarole.

image_5

Blanching chopped escarole.

image_6

Drying escarole.

image_7

Neat little bags of escarole ready to go into the freezer which will eventually make its way into some soup this winter.

image_9

Weighing strawberries. Two pounds!

berries

Laying out (washed and hulled) strawberries on a pizza pan to freeze. After the berries freeze transfer them to a freezer bag and label.

image_11

And of course I need to give credit to my trusty kitchen helpers!

image_4

* Sorry no pictures of how I froze the grape leaves! After blanching and trimming the grape leaves I separated them by size. Then I rolled them up tight;y, like a cigar, in stacks of about a dozen. Then I wrap each “cigar” tightly in plastic wrap. I then place the plastic wrapped “cigars” into a freezer bag, push out as much air as I can before sealing it, label it, and finally tuck it into the freezer. There is nothing like using fresh grape leaves for dolmas. They are so much more tender and tasty than the ones you buy that are packed in brine. It was a huge pain in the butt to do, but it is so very worth it! At some point in the future I will post my dolmas recipe which is very simple (olive oil, onion, fresh dill, lemon juice, and a bit of salt) and also gluten free, and vegan.

First time canning solo! Radish Relish.

image_5Monday was our relaxation day this weekend. I decided it was a good day to take a deep breath and do some canning. I’ve canned things before (once I made strawberry rhubarb jam with a friend and last year for my birthday my sister signed us up for a quick canning course at Sur La Table in California), but I’ve never done it by myself. This year I decided I was really going to try to preserve as much as I could from our garden and that means home canning. I have been nervous about doing it on my own, but my first harvest-able crop was at risk of spoiling because I have been putting it off due to nerves. So I took a deep breath and just did it. I am happy to report it seems to have been a success. All seven jars of the radish relish that I made popped and I was ridiculously thrilled. The relish contains: 2 pounds or grated radishes, 2 inches of fresh grated ginger, 1 cup of onions, 2 cups of white distilled vinegar 5% acidity, 1 and 1/2 cups of sugar, 1 tblsp kosher salt, 1 tblsp yellow mustard seed, 1tblsp cumin seed, and 1 tblsp coriander seed. It was really such a thrill to hear and see those pretty little jars filled with pinkish goodness “pop” and I can’t wait to taste this on a grilled hot dog or sausage. The recipe, and instructions for canning, came from the book “Put ‘Em Up!: A Comprehensive Home Preserving Guide for the Creative Cook, from Drying and Freezing to Canning and Pickling,” by Sherri Brooks Vinton.

Weighing radishes on my new scale – 2 pounds exactly!

image

The relish boiling on the stove.

image_1

The set up on the stove – the relish boiling next to the canning pot.

image_2

Ladling the relish into jars using the canning funnel.

image_4

Putting the lids on the jars – the final steps before putting the jars in the boiling water to process (thanks Mike, for taking this one!).

image_3

All seven popped and cooling on the counter.

image_6

2013 So far … challenges, travel, gardening, shopping local, canning/preserving

photo-7Yeah. I’ve been shitty about posting. In my defense 2013 has kind of been kicking my ass. There are some good things going on….but there have been some challenges too.

Challenging stuff:

My mom got in a very bad car accident, which is bad enough (cracked sternum, 6 cracked ribs, one crushed knee, and a broken foot) but she was also in the middle of packing to move. So my sister and I flew out to Massachusetts to help her and also pack and get her all moved in and unpacked. While we were doing this we were also still working full time remotely. It was pretty intense and also extremely expensive.

I almost burned our house down, with our dogs in it, by leaving a pot boiling on the stove while Mike and I went to a lecture on smart cities. Thankfully everything turned out okay. The house was fine except for some very smelly smoke damage that was not bad enough that we couldn’t clean it ourselves. I don’t make light of how much work it was to get it cleaned and get the smell out but it could have been so much worse. And thankfully we have amazing neighbors and our dogs were fine. Our front door needs to be replaced but the insurance will help pay for it.

Mike finally had hernia surgery and it thankfully went well but it was a lot of painkillers and ice packs and eating in bed. He was a trooper.

I started a running program and fell in love with running….and promptly had my back give out on me and was in some serious pain for three straight weeks. So I think running is off the table for now. I did manage to get through an acupuncture appointment, with Mike holding my hand the entire time, and my needle-phobic self only cried twice. That will clue you in to how much pain I was in…I let someone stick needles in my body which terrifies me. It helped though.

And I had a tense day trying to make sure people I am close to in Boston were okay after the Boston marathon bombing. Thankfully they all were/are fine but it was a tense 24 hours. Even though I thought I had checked in with everyone I felt like I was going to get a phone call that night telling me some bad news (a lot like 9/11) but thankfully everyone was really okay. It was wonderful how everyone seemed to focus on how people pulled together in a crisis and how they all helped each other out under such bad circumstances. I was really proud of Boston and the rest of the country for focusing on the good side of human nature. The man-hunt the next day was insane; it was like some crazy scene out of a Jason Bourne film.

Anyway! Some good things….

I took a recent trip to California and went to some small towns west of Redwood City – Santa Cruz, Capitola, and – my personal favorite of the day – Pescadero. Driving back to Redwood City from Pescadero there is a lot of farmland, which is the picture at the top of this post. We bought local artichokes and locally made chicken/artichoke sausage from Arcangeli Grocery in Pescadero. (Click to check them out; you can order their stuff online.) I also went to the Shipyard Artists Open House and looked at some very cool art. California really has it going on for painting. It was refreshing because I am sorry to say I have not been overly impressed with Portland in that respect. I also ate the second best pizza I have ever had out of a food truck in front of building 101. (The absolute best was at the Brooklyn Flea Market a few years ago – but I mean…New York having good pizza is a given.)

Our back yard is looking the best it has since we moved in. We removed three of the planter beds and are now left with nine, which is a much more sane number. We have been keeping up with the weeding (with help!) and even with back problems I managed to plant some things (radishes, escarole, lettuce, onions, green beans, beets, cilantro, thyme, oregano, chives, and parsley – the chard from last year is in its harvest state, the artichoke plant is going strong, and we had some potatoes pop up from missing a few from last year’s harvest). I’ve decided this is the year I fully can and preserve my harvest. The fruit trees are really beginning to bear fruit and I think it is time to get my tomatoes in. I invested in some canning gear from Miradoor, a local little shop. And I purchased “Canning for a New Generation,” by Lianna Krissoff at our local Powell’s on Hawthorne. I think I am ready to go and this book is so great about breaking down the canning and preserving process in a way that is simple and easily understood (takes a lot of the botulism terror out of it…which is…you know…really nice).

May 15 marks me and Mike’s third year in our house, and May 22 marks our fourth year together as a couple. I am feeling very blessed in life even with the early 2013 challenges.

And for your viewing pleasure…some very cute pictures of our family dogs.

Emmie

  image

Serena

image_2

My sister’s dog Abbey

image_1